Wednesday, 27 October 2010

Daring Bakers' Challenge - October 2010


This month's Daring Bakers' Challenge was hosted by Lori of Butter Me Up and the theme was doughnuts! I was a bit intimidated when I read what I had ahead of me, not because it seemed like a very difficult challenge, but because I'm actually quite frightened of deep frying. It is a cooking method that rarely features in my home, which is great for health reasons, but I often find myself skipping across good sweet recipes that require the technique. But that's what being part of the Daring Bakers' Club is all about - challenging yourself, and getting out of your comfort zone.

And I'm so glad I did. It was a little scary, but I did it! I used a small saucepan to fry the doughnuts in the oil, and there was no spitting oil or burning - unexpectedly and pleasantly drama free! I am proud to say I have conquered my fear and now embrace the world of deep frying. Well perhaps not embrace, I do have to think of my health after all...
We had four simple doughnut recipes to choose from, but I decided on the Kate Neumann recipe for Raspberry Jam Bombolini. Bombolini are small, bite-size fried doughnuts usually filled with raspberry conserve. Mmmm... little fluffy doughnut clouds with oozy raspberry interiors. I also made some plain (i.e. without filling) and rolled them in the caster sugar along with a little cinnamon.You can get creative with these too by following the basic recipe and filling them with whatever takes your heart's desire. A little warmed Nutella perhaps? Phwoarrr!


Raspberry Jam Bombolini
Adapted recipe from Kate Neumann

1/2 cup plus 1 tablespoon lukewarm water
1 1/2 envelopes active dry yeast (3 1/4 teaspoons)
1 1/2 tablespoons honey
3 cups all-purpose flour, plus more for dusting
3 tablespoons milk
6 large egg yolks
1/3 cup caster sugar, plus more for rolling
2 teaspoons sea salt flakes
3 tablespoons unsalted butter, softened
3 cups canola/vegetable oil, for frying
3/4 cup seedless raspberry jam, slightly warmed
icing sugar, for dusting (optional)

1. In the bowl of a standing electric mixer, mix the water, yeast, honey and 1 cup plus 2 tablespoons of the flour. (Alternatively, whisk the ingredients by hand.) Cover with plastic wrap and let stand at room temperature until foamy, about 1 hour.


2. Return the bowl to the mixer, fitted with a dough hook. Add the remaining 3/4 cups plus 2 tablespoons of flour, along with the milk, egg yolks, 1/3 cup of caster sugar and the salt. Mix at low speed until blended, then add the butter and knead at medium speed until silky but sticky, about 5 minutes; the dough will not pull away from the side of the bowl. Using an oiled spatula, scrape the dough into an oiled bowl and cover with plastic wrap. Refrigerate overnight.

The dough once mixed...


and after resting in the fridge overnight


3. In a large saucepan, heat the oil to 360° (I used a candy thermometer to check on this whilst cooking). Line a rack with paper towels. Fill a shallow bowl with 1/2 inch of caster sugar. On a lightly floured surface, roll out the dough a scant 1/2 inch thick. Using a 3.5 cm round cutter, stamp out rounds; do not reroll the dough.


4. Fry the rounds a few at a time, until they are browned, about 4 minutes. Be sure to keep the oil between 360° and 375°. Drain the bomboloni on paper towels, then roll them in the granulated sugar. Continue frying and rolling the remaining bomboloni.
5.Fit a pastry bag with a plain donut tip (or a 1/4-inch tip) and fill with the preserves (you can also use a squeeze bottle). Poke the tip three-fourths of the way into the bomboloni and squeeze in the preserves, pulling the tip out slightly as you squeeze to fill them as much as possible. Dust the bomboloni with confectioners' sugar and serve warm.


It's challenges like these that make me really glad to be part of the Daring Bakers' Club. If you've yet to jump on the bandwagon, I urge you to jump aboard! It's a lot of fun and you're sure to learn a thing or two, and even conquer some of you baking fears!


Till next time...

Ladybird x

Sunday, 24 October 2010

Chocolate peanut butter cheesecake


For my birthday on Wednesday I was tempted to make a pretty fondant decorated cake, but flicking through the cookbook of the month 'Kitchen' one night while watching TV, this recipe and Nigella's preface to it caught my eye. The fact that it also contains 250g peanut butter also caught my eye! How naughty. How very very naughty...

Some of Nigella's words used to describe this cake will give you a pretty good picture of what this cake is all about:
"overindulgent vulgarity", "unashamed indulgence", "pleasureable, palate-cleaving clagginess"


Get the idea? ;)

Chocolate peanut butter cheesecake
Adapted recipe from 'Kicthen' by Nigella Lawson
For the base:
200g digestive biscuits
50g salted peanuts
100g dark chocolate chips
50g soft unsalted butter

For the filling:
500g cream cheese
3 eggs
3 egg yolks
200g caster sugar
125ml sour cream
250g smooth peanut butter

For the topping:
250ml sour cream
100g milk chocolate chips
30g soft brown sugar

1. Preheat the oven to 170 degrees Celsius then process the biscuits, peanuts, dark chocolate chips and butter for the base in a food processor. Once it comes together in a clump, turn it out into a lightly greased 23cm springform tin and press into the bottom. Put in the fridge while you make the filling.

2. Process the filling in the cleaned or wiped-out food processor bowl, putting in the cream cheese, eggs, egg yolks, sugar, sour cream and peanut butter and whizzing to a smooth mixture.


3. Pour and scrape the filling into the base in the chilled springform tin and cook for 1 hour, though check after 50 minutes. The top only should feel set and dry.


4. Take the cheesecake out of the oven while you make the topping. Warm the sour cream and chocolate with the brown sugar gently in a small saucepan over a low heat, whisking to blend in the chocolate as it melts, and then take off the heat.

5. Spoon and spread the topping very gently over the top of the cheesecake, being as careful as you can in case you break the surface of the cheesecake. No big deal if you do though, you'll just end up with more of a marbled effect. Put it back in the oven for a final 10 minutes.

6. Once out of the oven, let the cheesecake cool in its tin and then cover and put into the fridge overnight. When you are ready to cut the cheesecake, take it out of the fridge, just to take the chill off: this will make it easier to spring from the tin.


The Verdict
If you are a die-hard peanut butter fan, this cheesecake would be right up your alley! Whilst I do like peanut butter, I did find this cheesecake a bit too much, and a little underwhelming taste wise.. I love the idea behind it - chocolate and peanut butter make a killer combination, but to be honest I'm just not 100% convinced that it's worth all the calories that are required to make it.

I was also a bit surprised by the fact that Nigella's recipe and the accompanying picture in the book don't match. Allow me to explain ... the recipe asks for the base to be pressed into the base and sides of the tin (as I did). However, after doing this with some difficulty (as there really isn't enough mixture to do it) and reaching the stage of putting the cake into the oven, I turned the page to see a picture of the cake with only the crust on the bottom of the cake. It is for this reason that I have adapted the recipe in this post, as this is the way I would do it next time. Although... it will be some time before I tackle this cheesecake again - it is certainly not for the faint hearted (or heart conscious!).


Ladybird x

Thursday, 21 October 2010

Degustation brunch at Rubyos, Newtown


As a Libran, I am characterised by many things - I am prone to perfectionism, I pay attention to detail, I love beautiful things, I am a sucker for romance, and I dislike conflict. However (and this trait of my zodiac sign is defintiely true in my case) I can be very indecisive!

As such, I can take a long time to decide what I want when  dining out, especially when it comes to breakfast/brunch. There are just too many good options on the menu at that time of day, and it can be hard to make up your mind. I find myself torn between sweet options and savoury options, and even then there are more decisions to be made.. I try to reason between my heart, my conscience and my palate. Life's tough, I know ;) But it is through explaining my morning meal indecisiveness that I can also express my excitement for the concept of having multiple courses for brunch. With a little bit of this and that - the problem of ordering solved! Are you excited yet?!
A couple of weeks ago I discovered Rubyos Restaurant in Newtown in Sydney's inner-west. Mr Ladybird and I headed there for a regular breakfast (which was fantastic) when we learnt of their weekend degustation brunch. And so it was last weekend that we returned with two good friends Mrs & Mrs C and four healthy appetites for the four course brunch with a cocktail for $25 per person.


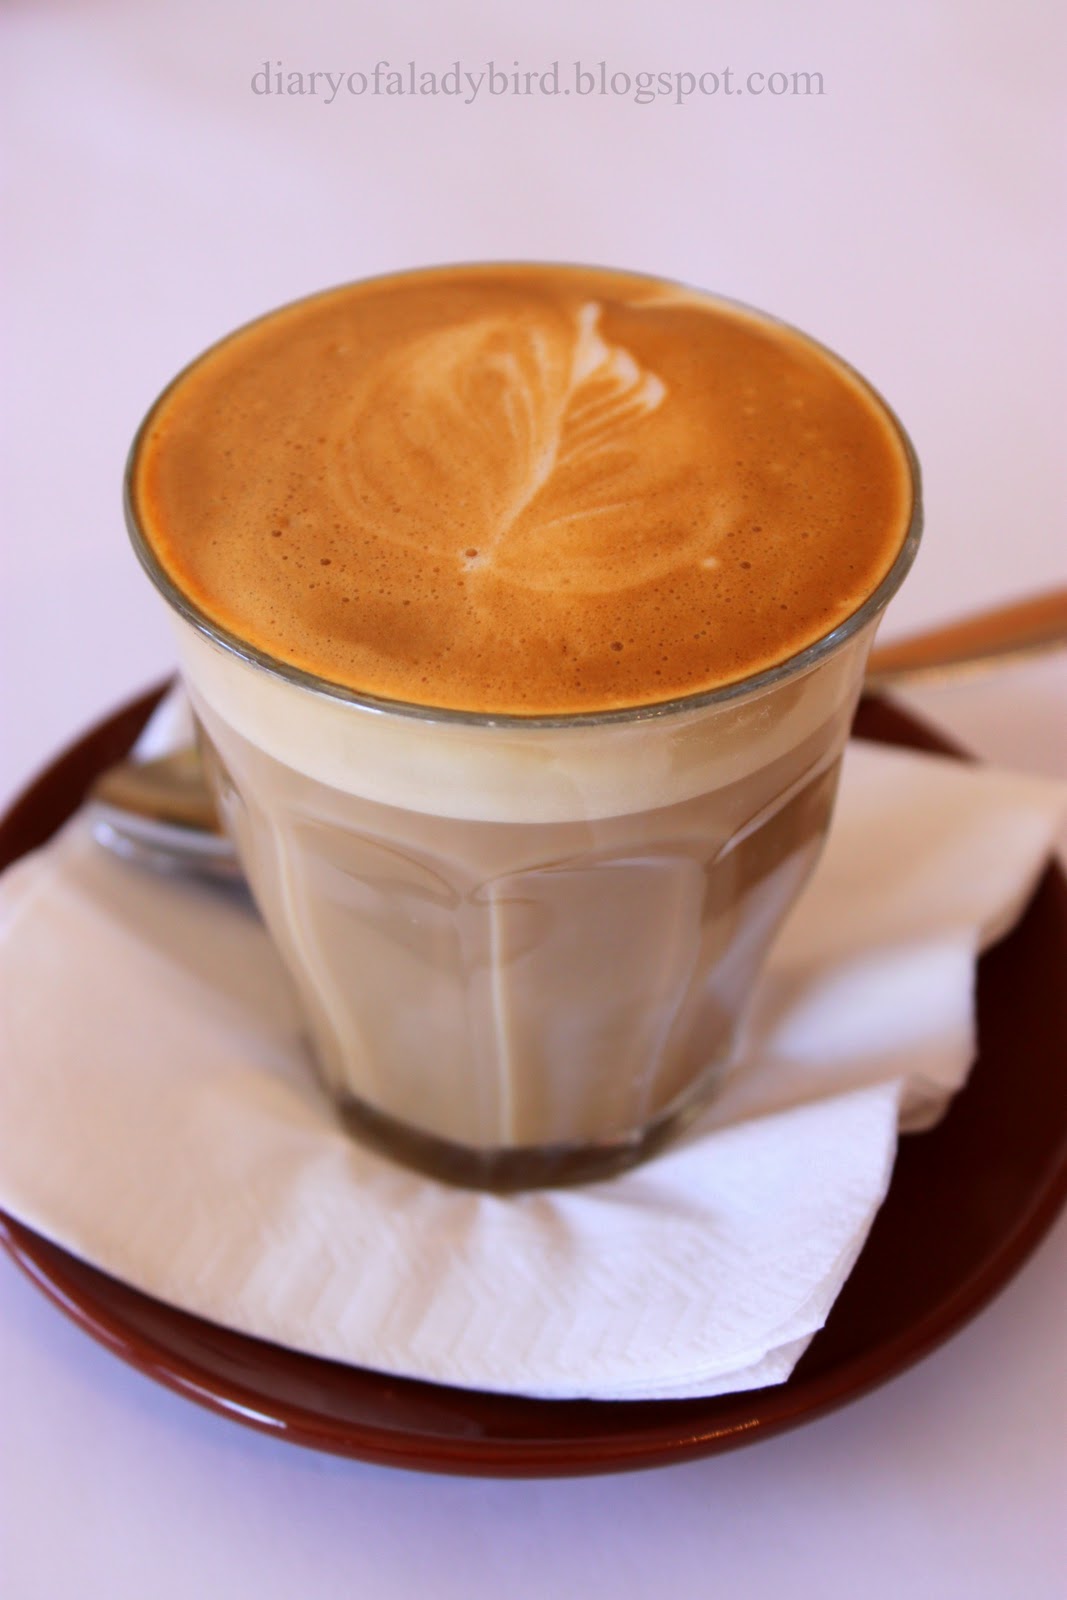
We are greeted by Liz and her friendly Rubyos staff and we start with some much needed coffees (not included in the package) $3.50 each.


With then make a start on our degustation brunch, starting with the delicious Mini Breakfast Bruschetta - grilled sourdough topped with rocket, avocado, tomato and crispy bacon or haloumi. The four of us opt for the haloumi with our bruschetta which turns out to be a good decision - the haloumi is absolutely lovely and not too salty, and pairs well with the other bruschetta toppings.


At this point we are ready for a tipple with our brunch, either a Bellini (sparkling wine with peach) or a Mimosa (sparkling wine with orange). Three of us choose the Bellini cocktail and Mrs C opts for the Mimosa. The last time I had bubbly this early in the day was at my sister's wedding, but I think I could get used to cocktails at breakfast!


Our next course is eggs benedict - poached eggs on toast with hollondaise, with either leg ham, smoked salmon or spinach. Mr Ladybird and I opt for the eggs with spinach, and Mr & Mrs C opt for the smoked salmon.


The eggs are excellent, and the hollondaise sauce is perfectly balanced. Check out this oozing yolk, oh yeah :)


Our third course of the morning is the ricotta and buttermilk pancakes filled with blueberries, and served with vanilla bean ice cream and maple syrup. These are some of the best pancakes I have ever had - they are so light and fluffy, they're superb, and the vanilla bean ice cream is gorgeously creamy, flecked with vanilla bean seeds.


Finally, the four of us share a platter of freshly cut seasonal fruit with creamy yoghurt and honey. The perfect finish to a wonderful brunch.


We all thoroughly enjoyed our degustation brunch at Rubyos Restaurant and were very well looked after by the Rubyos team. And we weren't stuffed either - we all felt we had eaten a hearty breakfast without feeling overfed.

With food of such a high standard, excellent service, a great venue and only $25 per head, this brunch ticks all the boxes. How am I ever going to go back to choosing just one course for weekend brunches?! :P


Rubyos
18-20 King Street
Newtown NSW
(02) 9557 2689
http://www.rubyos.com.au/
Lazy weekend brunch special available Saturdays and Sundays from 9 am

Rubyos on Urbanspoon
Related Posts with Thumbnails