Showing posts with label Planet Cake. Show all posts

Wednesday, 15 January 2014

The best carrot cake recipe


Hello, readers!

After a fair amount of searching and trials, I am pleased to say I have found the carrot cake recipe I consider to be THE BEST.  That might come across as a little controversial to carrot cake lovers as each tends to have his/her own favourite. However, what I love about this cake is of course the wonderful flavour, but also that it is dense and moist, and is ideal for decoration as it holds it shape well.

Carrot Cake
Recipe from 'Planet Cake: A beginners' guide to decorating incredible cakes'

Ingredients
170g self raising flour
170g plain flour
2 tsp ground cinnamon
1 tsp ground ginger
1/2 tsp ground nutmeg
1 tsp bicarbonate of soda
200ml vegetable oil
225g soft brown sugar
4 eggs, lightly beaten
125ml golden syrup
500g grated carrots
60g chopped pecans or walnuts

Method

1. Preheat the oven to 170 degrees celciis. Grease the tin and the line the base and sides with a collar of baking paper that extends 2 cm above the top of the tin. Sift together the flours, spices and bicarbonate of soda into a large bowl and make a well in the centre. Whisk together the oil, sugar, egg and golden syrup. Gradually pour into the well, stirring until combined. Stir in the carrots and chopped nuts.

2. Spoon the mixture into the tin and smooth the surface. Bake in the oven for 1 hour and 40 minutes or until a skewer poked into the middle of the cake comes out clean.

3. Leave the cake to cool in the tin for 15 minutes before turning onto a wire rack to cool completely.

Storage: Keep in an airtight container in the fridge for up to 1 week or freeze for up to 2 months.


That's all from me for now as motherly duty calls. Happy baking, everyone! xx

Monday, 2 July 2012

Anna Trivedi Cakes

Hi everyone,

It's been a while since my last update - tut, tut, tut! Well I have been quite busy between one thing and another. Looking after The Emperor keeps me busy on one hand, but I have also been hard at work at starting my own cake business! Yes, I have decided to get a bit more serious about making cakes. I thought it was about time I stop talking about doing it and actually DO it!

Here are some pictures of my recent work...


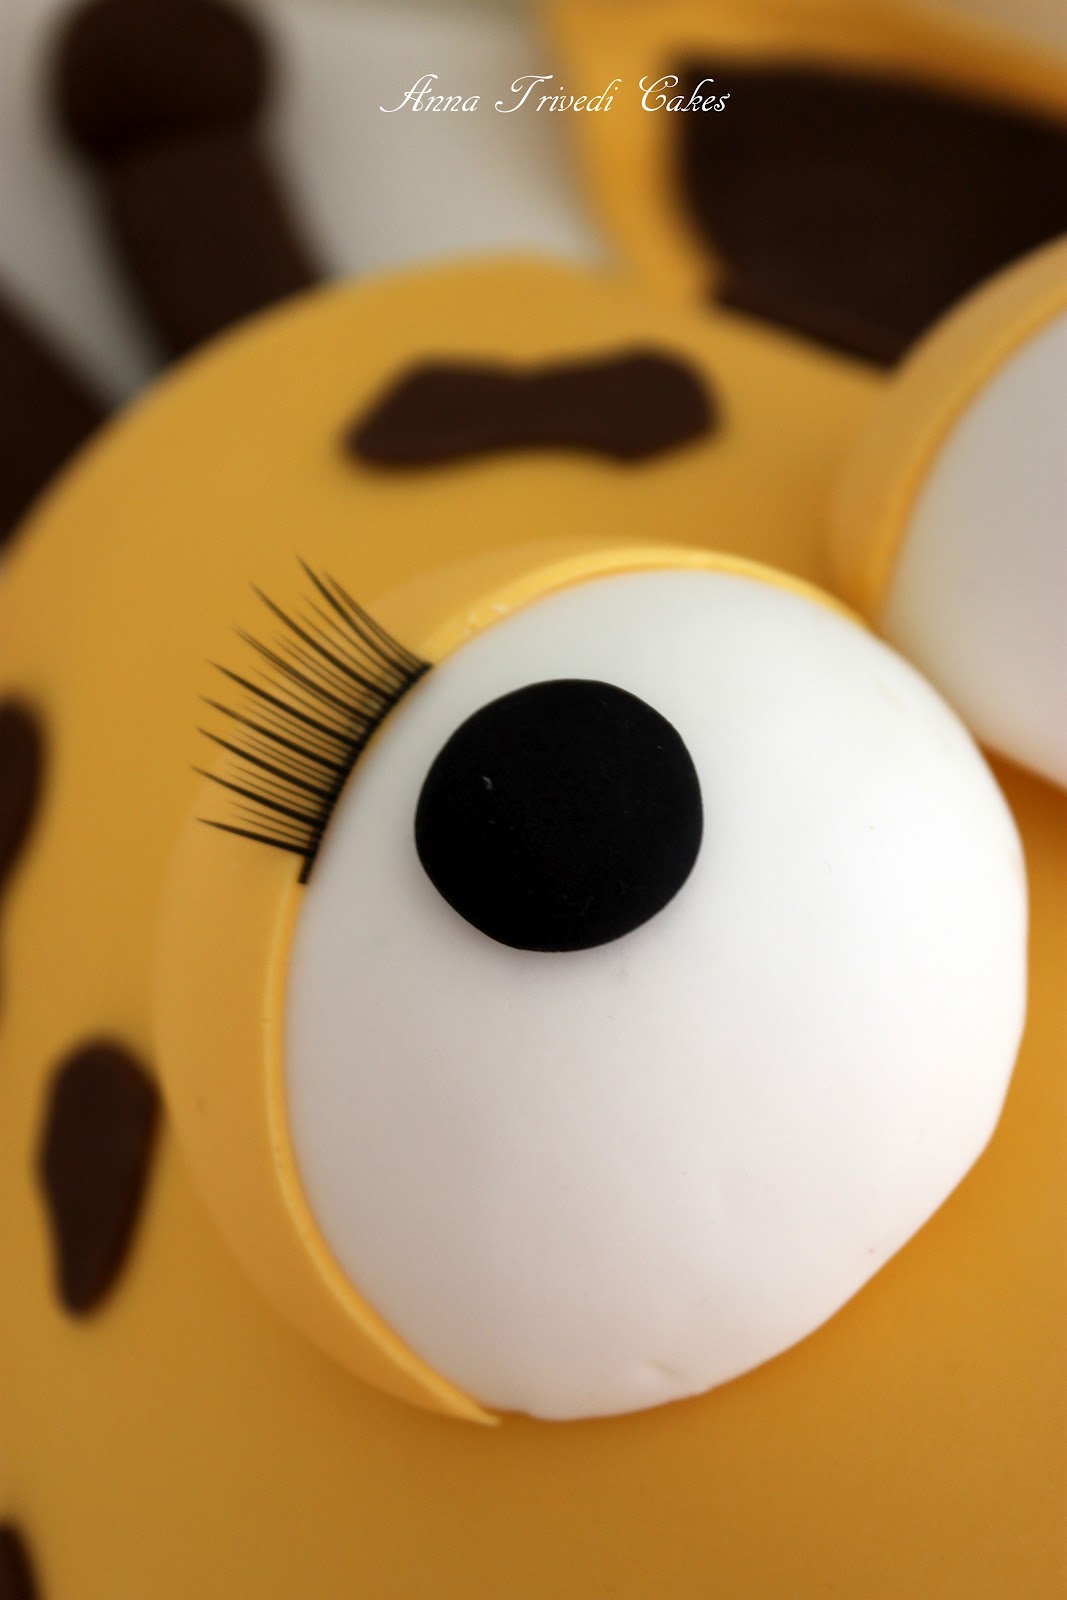
I called this beautiful giraffe 'Sophie' after The Emperor's much-loved (and chewed) teething toy. Sophie was made complete with beautiful lashes and a cheeky tongue! This was a cake I made as part of some of my recent training at Planet Cake in Balmain, and was donated to the Ronald McDonald House in Randwick. The kids were thrilled to bits to enjoy such a fun chocolate cake for dessert :)

I've also been making some birthday cakes for children in my mothers' group recently. This drum cake was for a little boy of Swedish heritage, so it was befitting that blue and yellow be included in the design.


And another first birthday cake. This one based on the popular children's book 'The Very Hungry Caterpillar'. I read this book to The Emperor every night before he goes to sleep so I am very familiar with the story. Making all the little food figurines in reference to the book was a lot of fun.


That's all from me for now, but hopefully it will not be too long before I update again with more cake shots!


Anna x

Thursday, 7 July 2011

Ladybird Cupcakes


I can't believe I've been blogging for almost 2 years now and have never made Ladybird Cupcakes before now! Well today's post addresses this most despicable oversight in Diary of a Ladybird's archives, and hopefully this mini-tutorial will guide you through how you can make them too.

The inspiration for these comes from the Planet Cake decorating book by Paris Cutler.


Bake your cupcakes
Bake your cupcake of choice. I chose my favourite chocolate cupcake/cake recipe, but you could also go for a classic vanilla cupcake.

Ganache the cupcakes
Using your ganache of choice, roughly ganache the tops of the cooled cupcakes. Allow to set for at least half an hour, then smooth over with a palette knife dipped in hot water to create a perfectly smooth and even cupcake surface. Allow to set for at least an hour, and once dry to touch they are ready for decorating.


Cover with black fondant
To cover and decorate the fondant you will need black and red fondant, as well as a very small amount of white fondant. Roll out your black fondant to a 3mm thickness, and cut out circles with a circle cutter to fit the top of your cupcakes. Lay and smooth the fondant on top of the cupcake.


Decorate with fondant
Now the fun part of decorating begins! Thinly roll out your red fondant and using the same circle cutter you used for the black fondant, cut out the same number of red circles. Then using the cutter, cut a small piece out of the circle, then split the larger portion in half with a sharp knife. The picture below should hopefully explain what I mean here...


Using the two larger pieces, dab/brush a small amount of water on the reverse of each and lay them on top of the cupcakes with the red pieces (wings) splayed apart slightly. Discard the remaining piece of red fondant.


Using a small circle cutter, cut out the ladybird spots from some rolled black fondant and attach them to the wings with a tiny amount of water dabbed beneath each spot.


Make the final touches
To make the ladybirds' eyes, roll tiny balls of white fondant and attach them to the cupcake (with a tiny touch of water if necessary). For the pupil in each, use a very fine paintbrush and a little black food dye.

Finally, press part of the end of a plastic straw (or a clean plastic pen cap) to create the smile indent in each ladybird's face.


So there you have it - simple and beautiful ladybird cupcakes. I don't know about you, but I find their little faces so cute that I can't help but smile back at them! :)


Till next time, dear readers...
 
Ladybird x

PS- Remember my salted caramel, peanut and chocolate tarts? I've entered my recipe into the Lurpak Callenge and I'd really appreciate your support in the final days of voting.  To vote for my original recipe, please click here!

Thursday, 20 May 2010

Classic Vanilla Cupcakes


When a birthday rolls around in our office it means a cake or cupcakes are just around the corner. I made these on Wednesday night to celebrate a team mate's birthday...


I went the extra mile and topped mine with buttercream and ready to roll (RTR) fondant, but they would taste and look just as good topped with piped buttercream.


Some food snobs think cupcakes are plain boring, but for me you can't beat a classic vanilla cupcake. It's an item every baker has to have in their repertoire, right?!

Cupcakes - a Planet Cake recipe, makes 12
175g unsalted butter, softened
160g caster sugar
1 tsp natural vanilla extract (I used vanilla bean paste)
1 tsp grated lemon zest
1 tsp Madeira (optional)
2 eggs
160g SR flour
100g plain flour
200ml milk

Method
1. Preheat oven to 180 degrees celcius and line a 12 hole cupcake tray with paper cases.
2. Beat the butter, sugar, vanilla, lemon zest and a pinch of salt until light and creamy.
3. If adding madira, add now until well combined.
4. Add eggs one at a time, beating well after each addition.
5. Sift the flours together. Fold in the flour and milk alternately into the creamed mixture.
6. Spoon into paper cases and bake for 20-25 minutes or until a skewer comes out clean when inserted in the middle of the cupcake.
7. Leave to cool in tray for 5 minutes before transferring to a wire rack to cool.

Buttercream
125g unsalted butter, at room temperature
1.5c icing sugar
1 tsp vanilla bean paste
dash of milk

Method
1. Beat butter, icing sugar and vanilla until fluffy.
2. Add a dash of milk to thin out the icing if desired.


Love,

Ladybird x
Related Posts with Thumbnails