Showing posts with label Tarts. Show all posts
Sunday, 12 June 2011
Salted caramel, peanut and chocolate tarts
We all know that the food world is overflowing with professional talent - for amateurs such as myself, there is plenty of inspiration to be found out there, and I take great pleasure in immersing myself in cooking TV shows, books and magazines. It's something I never tire of.. So, in a way, I think you'll agree with me when I say that it can be quite easy to spend much your actual time in the kitchen following others' recipes rather than trusting your own instincts. And perhaps sometimes, recipes can become a little bit of a crutch when you get into the habit of using them all the time. I have been thinking about this a lot of late, and have realised that this over-reliance on recipes is in part a symptom and a cause of my lack of confidence in the kitchen. Sure, I've baked and baked for many years, but it is quite rare that I set about creating something entirely of my own invention.
And so it was very timely that I heard about the Lurpak Challenge calling for submissions of original recipes incorporating the iconic butter (I just know you've heard me rave about this product before, so I'll spare you the repetition!). With the added incentive of great prizes at stake, I decided to take a leap of faith in my baking. I lifted my hand from the safety railing, put away all the recipes, and step by step, created something I can call my own. It was a little scary at first, and there were mistakes.. oh yes, and mistakes involving caramel are rather sticky and a pain to clean up... but after three attempts I think I've managed to create something worthy of entry into the competition (I hope!)
Here is my recipe for salted caramel, peanut and chocolate tarts. This recipe combines three things that I absolutely can't live without eating now and then - sweet shortcrust pastry, salted caramel and chocolate. The salted peanuts add a great crunch too. This recipe makes ten 8cm tarts, however, you can easily adapt the method to make one larger 22-24cm tart.
Ingredients
Pastry
250g plain flour
50g icing sugar
pinch salt
150g unsalted butter, cold and chopped into chunks
iced water
Peanut & Salted Caramel filling
1 cup white sugar
70g Lurpak unsalted butter
1/3 cup thickened cream
1/4 teaspoon sea salt flakes
1/4 cup salted peanuts, chopped
Chocolate ganache
1/2 cup thickened cream
110g dark chocolate (70% cocoa), finely chopped
90g milk chocolate, finely chopped
Method
1. Start with the pastry by adding the plain flour, icing sugar, pinch of salt and 150 grams of butter (cold and roughly chopped into chunks) and pulse until breadcrumbs start to form. Add around 3 tablespoons of ice-cold water, one tablespoon at a time, until the dough starts to come together. Tip the mixture out onto a clean work surface and gently bring together with your hands. Wrap with clingfilm and refrigerate until ready for use.
2. To make the salted caramel, place the white sugar and a few tablespoons of water in a heavy based saucepan over medium heat. Stir to dissolve the sugar, which will then start to form white lumps. At this point, reduce to low heat and stir regularly as the sugar begins to caramelise and darken. As soon as it reaches a golden-amber colour, remove from the heat immediately and stir in the remaining 70g of butter, 1/3 cup of thickened cream and the salt flakes. Take care doing so as it will spit and splutter. Once smooth, transfer to a bowl/jug to cool.
3. Next, preheat your oven to 200 degrees celcius and start on your pastry cases by lightly greasing ten 8cm loose-based tart tins. Roll out the pastry on a lightly floured surface to around 3mm. Cut out 10cm rounds and fold the pastry into the cases, gently pressing the pastry into the grooves. Prick the base of each with a fork and transfer to the freezer for at least 10 minutes. Line each tin with baking paper or foil then fill with pastry weights or dried beans/rice and blind- bake for around 10-15 minutes. Remove the paper/foil and weights and bake for a further 5-10 minutes or until golden brown. Remove from oven and allow to cool in tins.
4. Divide the chopped peanuts between the tart cases and pour over the salted caramel. Place in fridge to set.
5. Meanwhile, to make the ganache heat 1/2 cup of cream in a small saucepan until it is about to boil. Remove from the heat and stir through the chocolate. Allow to cool slightly before diving among the peanut and caramel filled tart cases, then return to the fridge to set.
So there you have it - my original recipe for salted caramel, peanut and chocolate tarts. If you like what you see please, pretty please, vote for me in the Lurpak Challenge! To vote, go to: http://www.lurpak.com.au/lurpakchallenge/recipe/salted-caramel-peanut-and-chocolate-tarts and register your vote.
Till next time, dear readers
Ladybird x
Labels:
Challenges/Competitions,
Chocolate,
Eggless baking,
Tarts
Monday, 3 January 2011
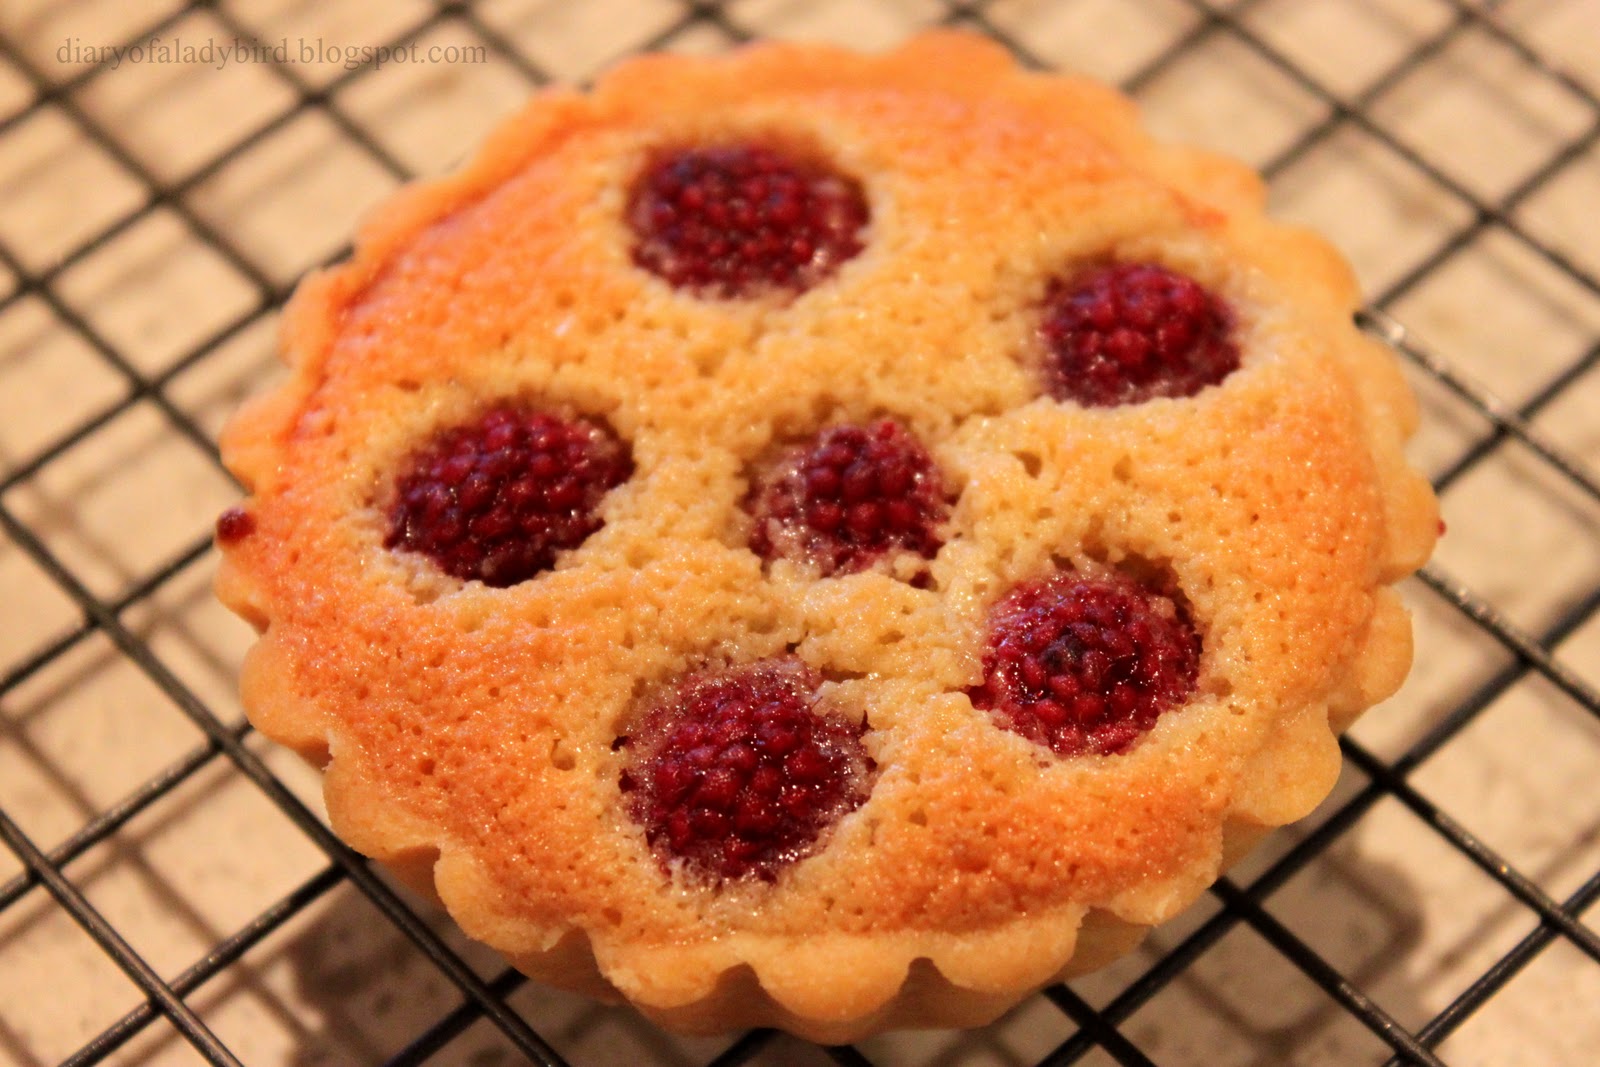
Raspberry Frangipane Tarts
Fruit is by far one of my favourite aspects of Australian Summer.. mangoes, peaches, nectarines, cherries, strawberries and... raspberries! I picked up these beauties at Maloneys Grocer on Crown Street in Surry Hills over the weekend. Beautiful Tasmanian raspberries for only $4 a punnet! These were just so good I was inspired to incorporate them into a dish where they could shine in all their jewel-like glory!
This recipe is an adaptation of the Frangipane Tart recipe showcased by Matt Moran on Masterchef Australia in 2010. A good frangipane tart is a great addition to every baker's repertoire - with its 'melt in your mouth' crumbly pastry and almond filling, it is the perfect platform for your favourite fruit(s) to make for a simple and elegant dessert. I find the following to be a good reliable recipe, particularly the lovely pâte brisée - a delicate shortcrust pastry that just breaks (brisée being the verb 'to break' in french) as you bite into it. The other great thing about this recipe is that you don't have to blindbake the tart case!
Raspberry Frangipane Tarts
makes 16 x 8cm tarts, but can easily be halved
Ingredients
375g plain flour
50g icing sugar
200g unsalted butter
1 free range/organic egg
125g unsalted butter
125g icing sugar
125g almond meal
2 free range/organic eggs
1 free range/organic egg yolk
25ml dark rum
1/4c strained, warmed raspberry jam
2 punnets fresh raspberries
Method
1. Grease and line the base of your loose bottomed tart tins and set aside.
2. To make the pastry, add the flour, icing sugar and butter to the bowl of a food processor and pulse until the mixture resembles coarse breadcrumbs. Add the egg and pulse again until the dough comes together. Wrap in cling wrap, then rest in the fridge for about 1 hour.3. On a lightly floured surface, roll out half of the pastry until 3-4mm thick. (you can freeze remaining pastry for up to 4 weeks). Line the tart tin with pastry, then rest in the fridge for 15 minutes.
4. For the frangipane, cream the butter and sugar in an electric mixer until pale and fluffy. Be careful not to overbeat it. Add the eggs and egg yolk, one at a time until incorporated in the mixture. Fold in the almond meal and dark rum.
5. Remove the tart tins from the fridge. Brush half of the jam over the bottom of the tarts, then spread a spoonful of frangipane into each tart case. Lightly press 6 raspberries into the mixture of each tart.
6. Bake in a preheated oven at 180 degrees celcius for 30-35 until golden and cooked through. Remove from the oven and brush each tart lightly with remaining raspberry jam. Serve with whipped cream and any remaining berries.
Having made frangipane tarts at home for the first time, I can't believe how good they taste is in comparison to the dry frangipane tarts I've tried in cafes in the past. There really is no comparison - the frangipane filling is beautifully moist and the pastry crumbles as you bite into it .... Mmmm! Can't wait to try this simple recipe out with other fruits such as blueberries, strawberries, nectarines or even pairings like pear and raspberry, or peach and raspberry, for example. The options are endless!
Ladybird x
Labels:
fruit,
Matt Moran,
Tarts
Wednesday, 15 December 2010
Festive Portugese Tarts
I have wanted to make Portugese tarts for a very long time, ever since a friend introduced me to them.. so when I came across this recipe in the latest issue of Delicious, I knew it what simply meant to be! They are a good way of using fruit mince in a bit of a different way to fruit mince pies, and they're really easy to make. So what are you waiting for?!
Festive Portugese Tarts (makes 12)
Adapted recipe from Delicious magazine, Dec 2010/Jan 2011 issue
2 frozen puff pastry sheets, thawed
3 egg yolks
1/3 c (75g) caster sugar
2 tbsp cornflour
1c (250ml) milk
200ml thickened cream
2 tsp vanilla extract / vanilla bean paste
1/2 c (130g) fruit mince
1/4 c (20g) flaked almonds
icing sugar, to dust
1. Preheat the oven to 200 degrees celcius and grease a 12 hole muffin pan.
2. Half each puff pastry sheet, then place one half on top of the other to form 2 stacks in total. Roll up each pastry stack tightly to form a lo. Cut each pastry log into six even slices.
3. One at a time, place the pastry slices cut-side up, between 2 sheets of baking paper and, using a rolling pin, roll into 10cm rounds (this will give you extra flaky pastry). Use the rounds to line the muffin pan, then chill while you make the filling.
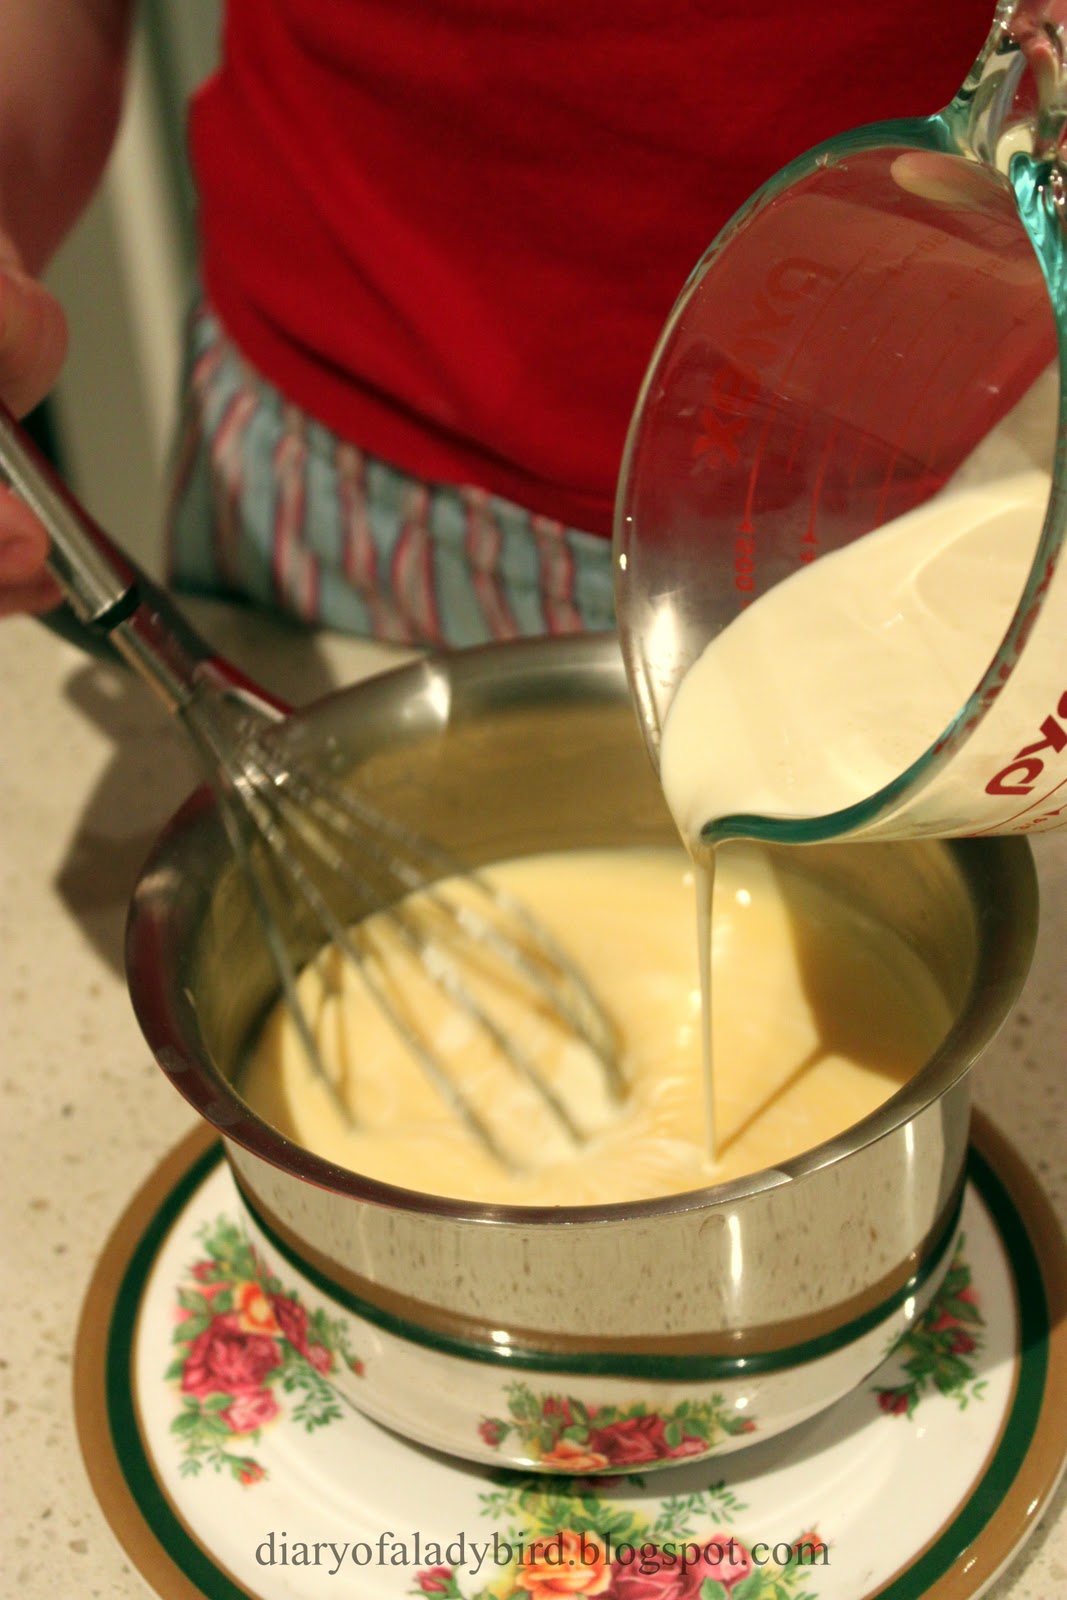
4. Gently whisk the yolks, caster sugar, flour and milk together in a small saucepan. Cook over low heat, whisking constantly for 5-6 minutes until thick. Remove the custard from the heat and stir in the thickened cream and vanilla extract. Transfer the custard to a bowl, then closely cover the surface with plastic wrap to prevent a skin forming. Chill the custard until completely cooled.
5. Once cooled, divide the custard among the chilled pastry cases (you may not need it all, be careful not to over-fill), then top each with a heaped teaspoon of fruit mince (it will sink into the custard, so don't worry). Scatter with the flaked almonds and bake for around 25 minutes or until the pastry is golden and custard is almost set.
6. Cool in the pan for 5 minutes, then place on a rack to cool completely. Dust with icing sugar and serve. These are best eaten the day of baking while the pastry is still crispy.
If there is one recipe you try this Christmas, you must try these festive portugese tarts.. They are simply sublime!
Love,
Ladybird x
Sunday, 12 September 2010
Caramelised Garlic Tart
Serves 8
375 all-butter puff pastry
3 medium heads of garlic, cloves separated and peeled
1 tbsp olive oil
1 tsp balsamic vinegar
220ml water
3/4 tbsp caster sugar
1 tsp chopped rosemary
1 tsp chopped thyme, plus a few extra sprigs to finish
120g soft, creamy goat's cheese
120g hard, mature goat's cheese
2 free-range eggs
100ml double cream
100ml creme fraiche
salt and black pepper
1. Have ready a shallow, loose-bottomed, 28cm fluted tart tin. Roll out the puff pastry into a circle that will line the bottom and sides of the tin, plus a little extra. Line the tin with the pastry. Place a large circle of greaseproof paper on the bottom and fill up with baking beans. Leave to rest in the fridge for about 20 minutes.
2. Preheat the oven to 350°F/180°C/Gas Mark 4. Place the tart case in the oven and bake blind for 20 minutes. Remove the beans and paper, then bake for a further 5-10 minutes, or until the pastry is golden. Set aside. Leave the oven on.
3. While the tart case is baking, make the caramelized garlic. Put the cloves in a small saucepan and cover with plenty of water. Bring to a simmer and blanch for 3 minutes, then drain well.
4. Dry the saucepan, return the cloves to it and add the olive oil. Fry the garlic cloves on a high heat for 2 minutes. Add the balsamic vinegar and water and bring to the boil, then simmer gently for 10 minutes.
5. Add the sugar, rosemary, chopped thyme and ¼ teaspoon salt. Continue simmering on a medium flame for 10 minutes, or until most of the liquid has evaporated and the garlic cloves are coated in a dark caramel syrup. Set aside.
6. To assemble the tart, break both types of goat's cheese into pieces and scatter in the pastry case. Spoon the garlic cloves and syrup evenly over the cheese.
7. In a jug whisk together the eggs, creams, ½ teaspoon salt and some black pepper. Pour this custard over the tart filling to fill the gaps, making sure that you can still see the garlic and cheese over the surface.
8. Reduce the oven temperature to 160°C/Gas Mark 3 and place the tart inside. Bake for 35-45 minutes, or until the tart filling has set and the top is golden brown. Remove from the oven and leave to cool a little.
9. Then take out of tin, trim the pastry edge if needed, lay a few sprigs of thyme on top and serve warm.
The result was really delicious, and the nuggets of caramelised garlic were wonderful... soft and sweet, contrasting well with the saltiness of the goat's cheese. Along with the herbs, overall this tart was well balanced - not pungent or garlic-stinky. The vampires, it would seem, live to die another day...
The puff pastry (I cheated and used readymade pastry) was crunchy on the outside, but went a little soggy underneath. Next time I would probably take the blind baking a little further to get around this. But oh my, what splendid use of garlic! Mr Ottelenghi, I think I'm in love (with your book!)
Ladybird x
Labels:
Cookbook of the Month,
Tarts,
Yotam Ottolenghi
Tuesday, 7 September 2010
Easy Lemon Tart
I often think that, if I were to be friends with a fruit, ("She's a fruitloop!" I hear you say...) it would have to be the humble lemon. Why? Because they are such a reliable little friend, and I think you'll agree with me when I say reliability is an important virtue in a friend... right? A reliable friend is always there to lend a hand when you need them. Lemon is versatile ingredient in sweet and savoury cooking and best of all, the relationship comes easily... A squeeze or a touch of zest here and there makes the world of difference to a dish, all without any fuss.
I've called this dish 'Easy Lemon Tart' because I really do mean it's easy... It's quick, it's delicious, there is absolutely no baking involved. It also uses 4 whole eggs, so you're not left with egg yolks/whites in the fridge, feeling guilty about the prospect of wasting them! The easiest aspect is that because the base is biscuit based, you are saved the trouble of making dough, resting it, blind baking it, and so on.. The curd is the more 'labour intensive' component of the recipe, but it is well worth the oh so minimal effort! I find this curd recipe makes for a really well balanced flavoured filling which is also free of the excessive egginess you often come across in lemon curds. Obviously though, the acidity of lemons varies, so I'd recommend to taste and add additional sugar if required.
Easy Lemon Tart
recipe adapted from Super Food Ideas, February 2007
Base
165g plain sweet biscuits (such as Marie or Nice biscuits) processed to fine crumbs
1/2 tsp ground cinnamon
1/4 tsp ground nutmeg
100g unsalted butter, melted
puring icing sugar, to serve
Lemon Curd
3 lemons
4 eggs
1c caster sugar
125g unsalted butter, chopped
1. Lightly grease a 2 cm deep, 24 cm loose-based round tart tin. Combine the biscuit crumbs, cinnamon, nutmeg and butter in a food processor until the mixture starts to come together. Press into base and sides of prepared tin. Note - you may not need all of the biscuit mixture to cover the base and sides of your tin. Refrigerate for one hour.
2. Meanwhile, start on the lemon curd. Finely zest 1 lemon and juice all lemons. Whisk eggs and sugar together in a heatproof bowl until well combined. Add lemon zest and 2/3 c lemon juice, whisking constantly until well combined.
3. Place bowl over a saucepan of simmering water (do not allow base of bowl to touch water). Cook, stirring with a wooden spoon, for 20 to 25 minutes or until thick and custard like. Do not allow to boil. Remove from heat and whisk in butter.
4. Allow curd to cool to room temperature before pouring into the chilled tart case. Cover with plastic wrap and refrigerate overnight.
Tell me oh lovely readers, what is your favourite way to use our little lemon friend in the kitchen?
Ladybird x
Sunday, 11 July 2010
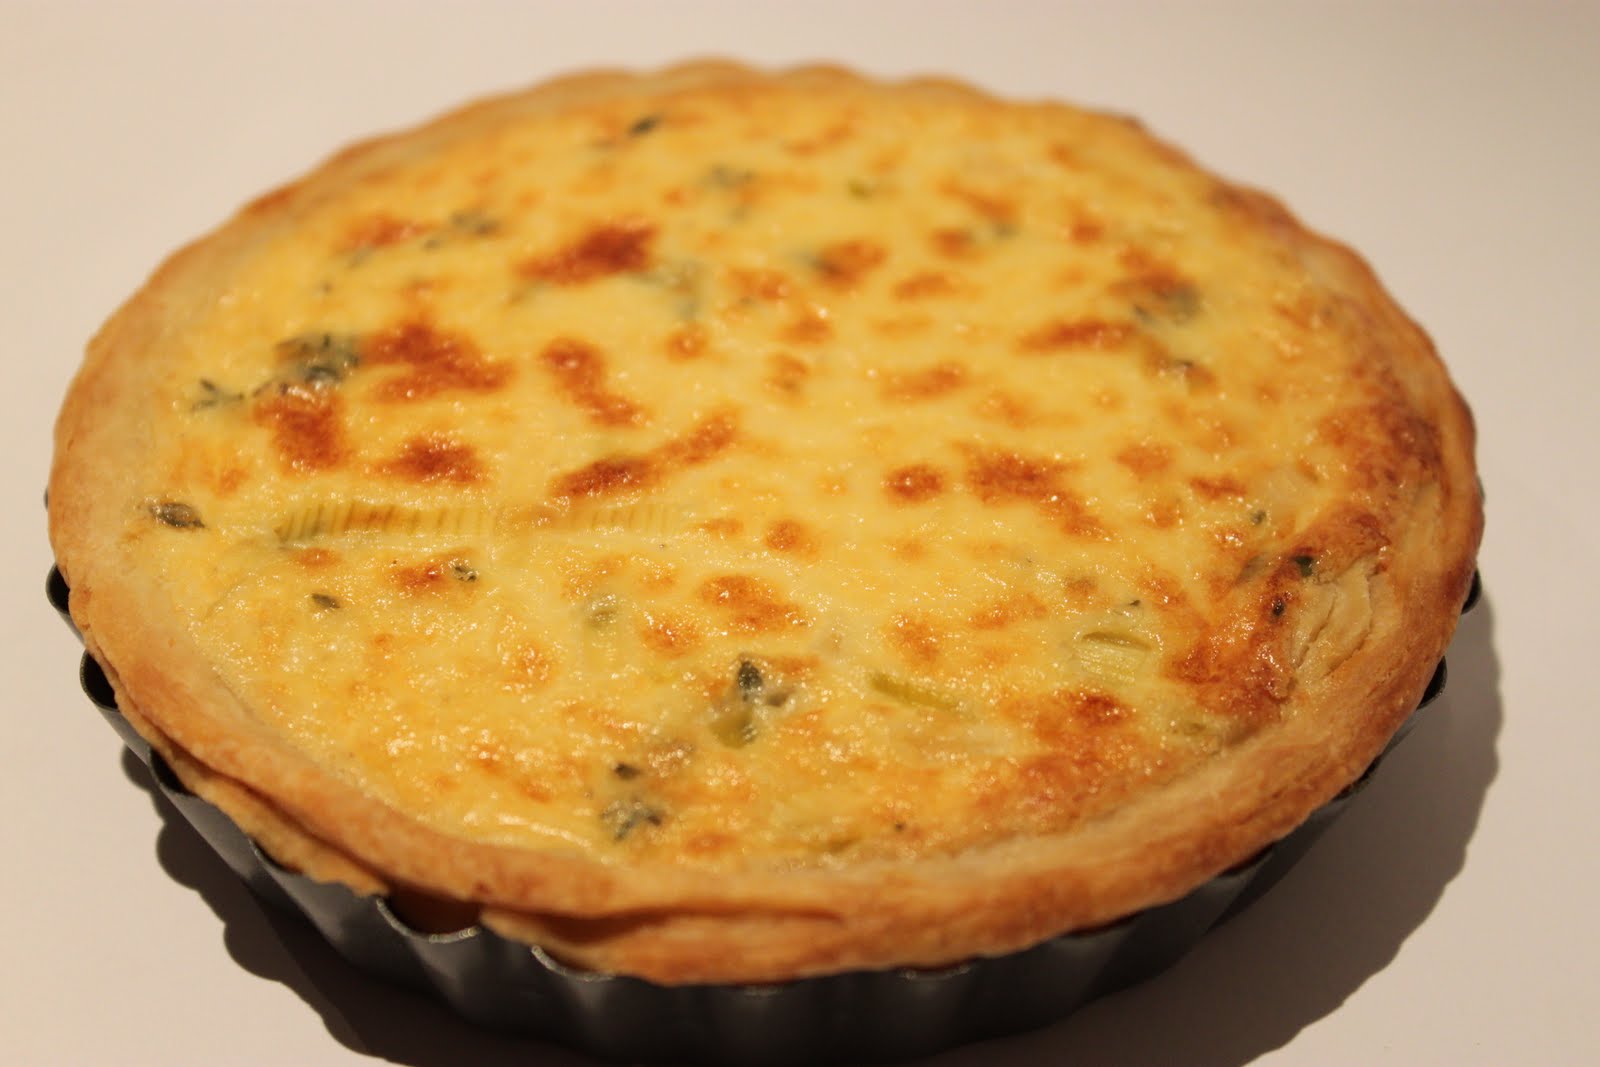
Goat's Cheese and Leek Tart
For my last birthday Mr Ladybird gave me the Bourke Street Bakery (BSB) cookbook... lucky me! :). This is no ordinary cookbook.. as it says on the cover it really is the ultimate baking companion.
It contains recipes for exactly the kind of beautiful baked goods you'd expect from BSB, perhaps Sydney's most iconic bakery. Bread, croissants, tarts, cakes... endless baked goodness.. Mmmm :) The recipes are very detailed, and contain lots of tips and step by step instructions, with lots of pictures to guide you along the way.
My most recent creation from the book was this delicious savoury tart.. and here is the recipe for you all to try. I haven't included the shortcrust pastry recipe as it is somewhat involved and very long (perhaps another blog post in its own right). However, you could use a simple shortcrust pastry recipe instead, no problems.
Goat's Cheese and Leek Tart
1 quantity savoury shortcrust pastry
35g butter
1 large leek (about 200g), white part only, washed and finely sliced
80ml (1/3 c) white wine
300 ml pouring (i.e pure) cream (35% fat)
300g soft goat's cheese
4 eggs
3 thyme sprigs, leaves picked
1/2 tsp salt
1/2 tsp freshly ground black pepper
Method
1. Preheat the oven to 220 degrees celcius. Roll out the pastry and use it to line the base and sides of eight 10cm, fluted, loose-based tart tins. Place in the refrigerator.
2. Melt the butter in a frying pan and saute the leek for about 5 minutes, or until softened. Add the wine, swish it around, and allow it to evaporate completely. Remove from the heat and set aside.
3. Heat the cream in a saucepan over medium heat and crumble the goat's cheese into it, stirring continuously until the cheese has completely dissolved and the cream thickens. Remove from the heat and set aside.
4. Putt the eggs in the bowl of an electric mixer fitted with a whisk attachment and mix for about 3 minutes on high spped, or until light and fluffy. Add the cream micture, thyme, salt and pepper, and continue mixing on low speed for about 30 seconds to combine.
5. Put the pastry shells on a baking tray lined with baking paper and scatter the cooled leeks into the shells. Pour over the cream mixture to fill each tart.
6. Carefully slide the tray onto the middle shelf of the oven, reduce the oven temperature to 180 degree celcius and bake for 30-35 minutes, or until golden.
7. Remove from the oven and cool a little before serving.
I served the tarts with a simple rocket and pear salad. This salad went really well with the tarts and offset the strong flavours of the goat's cheese and leek. To make this salad combine fresh, washed rocket with a little finely slinely sliced, firm Packham pear. Yum :) Dress with a quick balsamic dressing like this one:
3 tbsp extra virgin olive oil
1 tbsp balsamic vinegar
soft brown sugar, to taste (I used 3/4 tsp)
Combine ingredients in a small, screwtop jar and shake in your best maraca shaking style :)
Although I am fortunate to live close to Bourke Street Bakery, there is a very special satisfaction from making your own tarts from scratch... Oh so delicious and very rewarding :)
Ladybird x
Labels:
Bourke St Bakery,
Savoury,
Tarts
Subscribe to:
Posts (Atom)