Showing posts with label Dessert. Show all posts

Wednesday, 28 March 2012

Nic & Rocco's Chocolate Mousse


So the 2012 season of My Kitchen Rules (MKR) is over after a spectacular final last night - what a showdown! Nic and Rocco headed up against Leigh and Jennifer in a five course fight for the title of 2012 MKR Champions. Both teams cooked sensationally and it was very close, but Leigh and Jennifer won out in the end. Congratulations to the girls! The victory hasn't been without controversy though - I couldn't believe all the fuss in the media today! Regardless of their final place in the competition, I'm sure Nic and Rocco have a bright future ahead of them.

As you may recall, Nic and Rocco plated up a Dolci Misti in the semi-final - a trio of decadent desserts. Of the three, their chocolate mousse received rave reviews from the judges and other contestants... I'm a sucker for a good chocolate mousse, and so I just had to give this a try.

Chocolate Mousse
As seen on MKR (Channel 7)


Ingredients
50g dark chocolate (55% cocoa solids)*
50g dark chocolate (75% cocoa solids)*
30g caster sugar
30ml orange Juice **
1 tbs Cointreau
1 whole egg
1 egg yolk
1/2 tsp vanilla extract
165ml thickened cream

* I could not source these percentages and so used a total of 100g of 70% chocolate instead, which worked well.
** I opted for a pulp-free juice


Method
1. To make mousse, stir chocolate, sugar, juice and liqueur in a heatproof bowl over a saucepan of simmering water until melted and combined, then whisk until smooth. Remove from heat. Cool 5 minutes. 


2. Whisk in egg, egg yolk and vanilla. Whisk in cream.


3. Divide among four serving glasses (100ml capacity). I used four martini glasses. Refrigerate for several hours or overnight until set.


So the verdict? A really nice, velvety mousse. Mr Ladybird's description said it all... "Love the texture, and the hint of orange cuts through the richness of the chocolate. So... ummm.. what are we having for dinner?". Nuff said! ;) 


Thanks for the recipe, Nic and Rocco, and I wish you all the best in your future endeavours. Good luck!


Til next time, dear readers...


Ladybird x

Thursday, 28 July 2011

Sticky date pudding with butterscotch sauce and almond praline


How are we all going with Masterchef this season? Or do you watch it at all...? I guess I can only speak for myself and what I've heard from my family and friends... It is great to have Masterchef back on again (and I never quite got into the whole celebrity/children's versions). However, I must say, I'm not enjoying it as much as I did the first season, even the second season.. I am no longer a 'religious' viewer, and nor do my family and friends follow it with the same fervour as they once did. I'm not quite sure what it is, but it seems to me that Masterchef has become a little larger than life, a little over-dramatic perhaps... At any rate, may the best cook win!

Regardless of your sentiments on the show, please allow me to take all you Masterchef fans on a nostalgic journey back to Season 1 in 2009. Do you remember the Sticky date pudding challenge?! How many of you bookmarked the recipe on the website and never got around to making it..? Anyone? Well, I know I did.. cleaning up my bookmarks recently I decided it was high time I got around to it making it!

This is a winter classic -absolutely wonderful :)

Sticky date pudding with butterscotch sauce and almond praline
Recipe from Masterchef Australia (Season 1)

Ingredients

180g dates, pitted and roughly chopped
1¼ cups (310ml) water
½ tsp bicarbonate of soda
¾ cup (165g) firmly packed brown sugar
60g butter, softened and chopped
2 eggs
1 cup (150g) self-raising flour

Almond praline
½ cup (110g) caster sugar
¼ cup (35g) slivered almonds

Butterscotch sauce
50g butter
1 cup (220g) brown sugar
1 cup (250ml) cream
1 tsp vanilla extract

Method
 1. Preheat oven to 180˚C (160˚C fan-forced). Lightly grease eight (½ cup capacity) metal dariole moulds.

2. Place dates and water in a saucepan and bring to the boil over a high heat. Remove from the heat. Add bicarbonate of soda, stir until dates start to break down, set aside to cool, stirring occasionally.


3. Beat butter and sugar in a bowl using a hand beater, gradually add eggs one at a time, beat until light and fluffy.


4. Add date mixture, stir to combine. Carefully fold through sifted flour, divide mixture evenly between the eight moulds, until 2/3 full.

5. Place moulds in a baking tray, carefully pour water in tray until it comes up 1/3 of the side of the moulds. Bake in oven for 40 minutes or until golden and skewer comes out clean.

6. Meanwhile, for the almond praline, combine sugar and 2 tablespoons water in a saucepan over medium heat and cook caramel without stirring, swirling pan, until deep golden. Scatter almonds onto a baking paper-lined oven tray, pour over caramel and cool until set. Break praline into pieces.


7. For the butterscotch sauce, combine butter, sugar, cream and vanilla in small saucepan over low heat until butter melts and sugar dissolves. Bring sauce to the boil, reduce heat and cook for 5-6 minutes or until sauce thickens slightly.

8. To serve, invert the hot pudding onto a serving plate, top with butterscotch sauce and shards of praline.


CUPCAKE variation
As I only have 4 dariole moulds, I used the leftover pudding batter to make some delicious cupcakes!


Here's how...

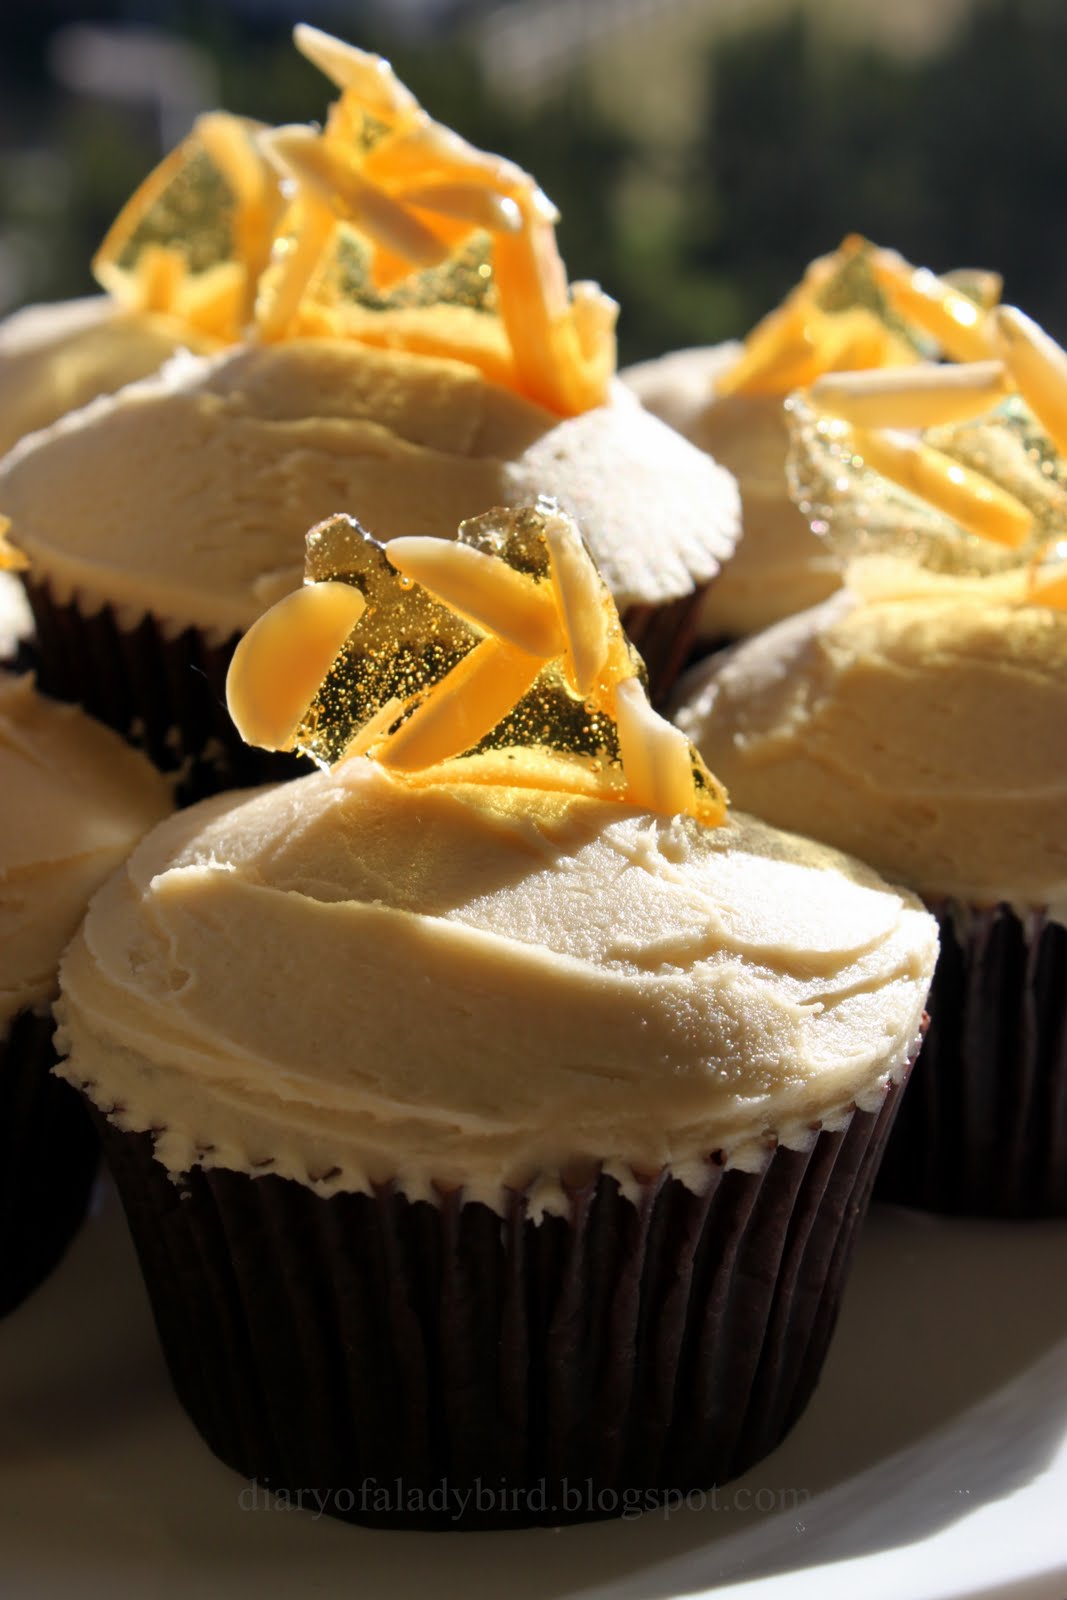
Sticky date cupcakes with butterscotch buttercream and almond praline
makes 10-12 cupcakes

Cupcakes
For the cupcakes, follow the above pudding recipe and divide among a cupcake paper lined muffin tin, filling each three-quarters. Bake at 180 degrees celsius on an upper shelf for 30 minutes, or until an inserted skewer comes out clean. Sit in tin for a few minutes then transfer to a wire rack to cool.


Butterscotch buttercream
Cream 125g softened unsalted butter, 1½ cups sifted icing sugar and 1 teaspoon vanilla extract until light and fluffy. Add 4-5 tablespoons cooled butterscotch sauce (recipe provided above) in an electric mixer until the desired consistency is achieved. Pipe or spread over the cooled cupcakes, and finish with a shard of the almond praline (recipe provided above).


So tell me, if you are a viewer, what are your thoughts on the current season of Masterchef Australia?

Ladybird x

Monday, 20 September 2010

Strawberry Shortcake


With strawberries so tasty and such good value at the moment, I am always on the lookout for new ways to showcase those plump red gems. Of course, strawberries are great on their own, but they are great with other things too. They're fantastic with the ricotta hotcakes I made recently, but they are also great in a strawberry shortcake - an old fashioned, classic dessert.

I actually made this strawberry shortcake for my mum-in-law as she was visiting for Singapore. She loves trying new types of foods, but she doesn't eat eggs, so this recipe was perfect for the occasion. Delicious along with a dollop of double cream or creme fraiche as part of a special afternoon tea or dessert.


Strawberry Shortcake
Recipe adapted from AWW's Sweet Old-Fashioned Favourites

This recipe made quite a lot of mixture for the base so I had leftovers. I used my leftovers to make little shortbread biscuits and stored them in an airtight container. Just refrigerate any leftover dough for a couple of hours and then roll it out and cut into desired shapes.

Ingredients
250g unsalted butter
pinch salt
1 tsp finely grated lemon zest
1 tbsp lemon juice
1/2 c caster sugar
1/3 c rice flour
1 c self raising flour
250g punnet strawberries (washed, hulled and halved)
1/2 c strawberry jam

Method
1. Lightly grease a tart tin approximately 25cm in diameter.

2. Have butter at room temperature. Beat butter, salt, zest, juice and sugar until creamy, but not too fluffy as you would aim for if making a cake. Stir in sifted flours in 2 batches. Press ingredients together gently, knead lightly until smooth. Cover with clingfilm and refrigerate for an hour.

3. Roll out dough and lay over tin, pressing it in neatly. If the dough breaks whilew doing this, don't worry too much, just continue pressing it in until you have a thin even layer. Prick the base with a fork, cover with clingfilm and refrigerate for another hour.

4. Remove tart base from fridge and remove clingfilm. Bake in a moderate oven (180-190 degrees celsuis) about 20 minutes or until lightly browned. Cool in tin.

5. Transfer tart base onto serving plate, decorate with berries. Warm jam in a small pan (or even the microwave briefly); strain and brush evenly over the strawberries.


And to sweeten Monday just a litte bit more, I am please to announce the winner of my 1st Birthday and 100th Post Giveaway.

Congratulations to Jen of Truffled Pink!
You have won a copy of '200 Cupcakes' by Joanna Farrow :)

Thank you once again to all of you, my valued readers. I appreciate each and every one of you, and I hope you all have a fantastic week!


Ladybird x

Thursday, 9 September 2010

Naan & Butter Pudding with Rhubarb & Ginger Compote


I've never really liked traditional bread and butter pudding... to be honest the concept has never really appealed to me. I have always felt it is one of those stodgy puddings that has gone out of vogue for a reason. I could be wrong, but that was my impression until I came across this bread and butter pudding with an Indian twist. Here the bread is replaced with naan. I picked up an extra plain naan from our favourite Indian restaurant a couple of days ago, and it waited patiently in the fridge to be transformed into a cosy, comforting dessert.


I came across this recipe while watching an episode of Poh's Kitchen last month. You remember Poh, don't you? She was the runner up on Season 1 of the Australian Masterchef series, the girl with the infectious laugh and big smile :) At any rate, in each episode, she is joined by a guest chef. On this occasion, it was Ragini Dey from South Australian restaurant 'Dhaba'.

I have adjusted this recipe for the use of a medium size naan (about the size of a normal dinner plate). This makes 2 generous size puddings using 1 cup (250ml) capacity ramekins.

Naan & Butter Pudding
1 medium Plain Naan

3 free range eggs
1½ cups milk
½ cup sugar
½ vanilla bean (or ½ tsp vanilla bean paste)
50g butter
Icing sugar for dusting

Rhubarb & Ginger Compote
2 cups cleaned diced rhubarb
½ cup sugar
1 tsp finely chopped ginger
¼ cup water

Heat the milk with the vanilla bean (open out and scrape seeds - use both the bean and the seeds). Separately beat the eggs with sugar till well mixed. Add the butter to the hot milk and let it melt. Cut the Naan into four pieces and place in individual dishes. Strain the milk gradually into the eggs beating vigorously. Top the Naan with milk and egg mixture and let it stand for about 40 minutes.


Meanwhile, start on the compote. Add all ingredients together and cook gently until the rhubarb is soft and a thick syrupy chutney is obtained. Serve hot or at room temperature.


Bake the puddings in a moderate oven (180°C) till set and golden brown on top (mine took about 30 minutes). Dust with icing sugar and serve with Rhubarb and Ginger compote. Leftover compote can be stored in the fridge for up to 2 weeks.


With Spring now upon us in the southern hemisphere, the warming, comforting foods of colder weather are slowly on their way out, soon to be replaced with fresh, summery food. Although I love the flavours and foods associated with warmer weather, I think I'm going to miss dishes like this one. Oh well, there's still a bit of time to squeeze a few more soups, casseroles, bakes and puddings out of the cool weather!

What about you? Are you going to miss wintery food?

Ladybird x
*** Giveaways Announcement ***

The Bakers Delight Giveaway has been drawn! These lucky readers will be receiving their $5 vouchers shortly...
Laetitia, Meegs5, Sam, Von, Ros, Linda V, Ellie, Simon and Kristy

If you are a winner and have not yet received an email from me, please contact me at diaryofaladybird[at]gmail[dot]com providing your name and postal address. Congratulations! :)

My 100th Post & Birthday Giveaway is closing soon, have you entered? The giveaway will be drawn on September 19. Good luck!

Sunday, 5 September 2010

How to make gelatine free panna cotta

A short while ago, I wrote about agar agar as an alternative to gelatine and I promised you I would road test the ingredient in the kitchen. True to my word, I did. Panna cotta is a beautiful dessert that can be found on menus everywhere, but I wanted to see if it could be made using agar agar in place of gelatine.

The real test was to replicate the texture of panna cotta, famously decribed by Nigella Lawson when she said that it should have "the quiver of a 17th century courtesan's inner thigh". What a way to describe it! But really... how does she come up with these analogies?!

At any rate, I set about my task. It was a bit frustrating to begin with.. I found that agar agara is a far stronger setting agent than gelatine, so getting the amount right required lots of trial and error. However, 3 attempts later, I bring you successful gelatine-free panna cotta. It has the wonderful wobbliness and silkiness you'd expect of panna cotta, and is beautifully speckled with vanilla seeds.


I served this with strawberries in a simple balsamic syrup made by macerating the berries in balsamic vinegar and caster sugar to taste for about an hour (whilst the panna cotta was setting). Really though, there are so many ways to serve panna cotta. You could serve it with fresh fruit - whatever is in season and whatever takes your fancy :)


Vanilla Panna Cotta (egg, gluten and gelatine free)
an original Diary of a Ladybird recipe
(Serves 4)

300 ml pure (pouring) cream
1 vanilla bean
75g caster sugar
exact 1/2 tsp agar agar powder
sunflower (or other flavour-neutral) oil, to brush

1. In a small saucepan combine the cream and agar agar powder and set aside for 15 minutes.
2. Add the sugar and split, scraped vanilla bean along with its seeds. Place over medium heat and gently bring to a boil. Simmer for about 2 minutes, stirring regularly to stop the agar agar sticking to the bottom of the saucepan.
3. Remove from the heat and set aside. Meanwhile, lightly brush 1/2 cup capacity moulds with a little oil.
4. Remove and discard the vanilla bean pod, and straining the mixture through a sieve before pouring into the greased moulds. Allow to cool to room temperature before refrigerating for 1-2 hours minimum.
5. When read to serve, simply tip out onto the plate and add your chosen accompaniment.


So.. the verdict?
I was very happy with agar agar's results in this dish. It is an excellent gelatine substitute and is flavourless. Not only is it cheaper than gelatine, but it also sets in about an hour (not 4-5 like gelatine)! It requires a bit of trial and error to get the amount just right in a recipe, but when you do the texture and flavour is perfectly on par.

To read more about agar agar, check out my recent agar agar post here.


Ladybird x

Sunday, 29 August 2010

Classic Vanilla Ice Cream

Sometimes life gets in the way of cooking and blogging... By day I work full-time in education. By night and by weekends I squeeze in as much cooking and blogging as I can, but it can be difficult. When I can't blog as much as I'd like to, I get withdrawal symptoms.. I get the itch, the urge.. the need to create. Does anyone else experience this, or do I need professional help?!

This week I had planned to participate in my first Daring Bakers Challenge. For August, the challenge was Baked Alaska / Ice Cream Petit Fours... either way, there was going to be delicious butter pound cake and ice cream made from scratch. I got as far as making the ice cream, but after that the week got a bit stressful.


But nevermind, I'm so glad I made this delicious vanilla ice cream! I've tried many vanilla ice cream recipes in the past, but this one takes the cake (or cone, as it were). It's soft, creamy and perfectly balanced. Definitely a good classic ice cream to have on standby in the freezer.


There are no surprises that this gem of a recipe come from David Lebovitz.. here it is for you to try out for yourself! I hope you love it as much as I do :)

Vanilla Ice Cream
The Perfect Scoop (David Lebovitz)

1 cup full cream milk
pinch salt
3/4 c caster sugar
1 vanilla bean
5 egg yolks
2 cups heavy (approx 35% fat) cream
few drops natural vanilla extract

1. Heat the milk, salt and sugar in a saucepan. Split the vanilla bean lengthwise and scrape the seeds into the milk with the tip of a pairing knife. Add the bean pod to the milk.

2. Stir together the egg yolks in a bowl and gradually add some of the warmed milk, stirring constantly as you pour. Pour the warmed yolks back into the saucepan.

3. Cook over low heat, stirring constantly and scarping the bottom with a heat resistant spatula until the custard thickens enough to coat the spatula. Strain the custard into the heavy cream. Rinse the vanilla bean and put it back into the custard and cream to continue steeping. Chill thoroughly, them remove the vanilla bean and freeze in your ice cream maker according to the manufacturer's instructions.


I served the ice cream in these lovely mini waffle cones from The Essential Ingredient in Rozelle, Sydney. To give you an idea of the size of these itty-bitty cones, I've photographed them sitting in shot glasses. To scoop ice cream for mini cones, I use a melon baller heated in a cup of hot water.


*** Giveaways Reminder ***
Before I sign off for today, I wanted to remind you about the 2 giveaways I have running at the moment... Have you entered?!!!

The Bakers Delight Giveaway closes on September 8. You could win one of nine $5 Bakers Delight vouchers! For more details, click here.

My 100th post and 1st blog-birthday giveaway closes on September 15. You could win a great cupcake cookbook! Anyone can enter, so for more details, click here.


Ladybird x

Tuesday, 13 July 2010

Carrot Kheer


"Carrots and milk? Anna, that sounds gross..." Mr Ladybird warned - and so I threw down the gauntlet (in this case, an oven mitt)  and declared, "Game on!" Mr Ladybird is always rather frank is his opinions on food... so I do enjoy the challenge at times. At other times it can be a bit, well, pesky! But I could understand Mr Ladybird's hesitation. He has become somewhat of a kheer snob. There, I said it! Since I started making chaval kheer (a creamy indian rice pudding), he shuns others' versions (which is really rather sweet in a stubborn kind of way).

This recipe comes from British-Indian chef and author, Anjum Anand. I have had mixed success with her recipes in the past, but I was convinced the flavour combination would work a bit like carrot cake - sounds odd yet, somehow, it works.

Carrot Kheer
1L full cream milk
250g carrots, grated
1/2 tsp green cardamom seeds, finely ground
pinch saffron
3 - 4 tbsp sugar
2 tbsp chopped pistachios to garnish
2 tbsp flaked almonds (optional)

1. Heat the milk in a wide, heavy-based saucepan, stirring and scraping the base with the spoon frequently to make sure the milk does not catch and burn. Keep cooking until it reduces by about one third - this takes about 25 minutes.
2. Add the carrots and continue cooking for another 15-25 minutes or until they are soft and the milk is as thick as you like it. (I like it at a just drinkable consistency) It will also thicken up slightly once chilled.
3. Stir in the sugar, saffron and cardamom powder, cook for another 2 minutes and taste for sweetness. Bear in mind chilling dulls the sweetness of food, so add a little more than you think you will need.
4. Cool and then place in the fridge for several hours, covered with clingfilm as milk absorbs flavours from other food in the fridge. Overnight is best to allow the flavours to infuse. When ready to eat, serve in bowls sprinkled with the nuts.


The result? Delicious, slightly carroty and beautifully scented kheer without the starchiness of its rice equivalent.

Oh.. and you'll never guess who came back for seconds ;)


Ladybird x

Friday, 2 July 2010

Eggless Dessert Café, Adelaide


From time to time one comes across a café or restaurant that makes you sit up and take notice for one reason or another. I had one of these moments during a recent trip to Adelaide. I was googling restaurant and café options in the city when I came across Eggless. The concept intrigued me, and I knew I'd have to pay it a visit. I was curious about this place because I know there are so many people out there who don't eat eggs out of preference or due to allergy. Eggless also had a great range of vegan desserts - great for people looking for dairy free dessert.


I headed to Eggless Dessert Café late last Sunday night, and luckily got a seat inside straight away (good thing too - it was very cold outside!). A friend and I wanted to sample a few of the eggless creations on offer, so we ordered the tasting plate for two ($18) with four small portions of desserts from the menu.

 Tasting Plate for Two $18

We ate our way from one end of the plate to the other.. It's a tough job, but someone's got to do it! :P We started with the ice cream.

 Sweetcorn Ice Cream

I was doubtful as to how the ice cream would be creamy without eggs or dairy, but it was quite creamy. It was quite light, and was lightly flavoured with the sweet corn and coconut milk/cream (not sure which). Delicious and refreshing on the palate. 
 
 Lychee and Passionfruit Pana Cotta

  This was a wonderfully refreshing and flavoursome dessert. I can imagine it would be wonderful on a hot summer evening. The pana cotta was a bit runny to be a pana cotta but it was gelatine free after all.

 Sticky date and raspberry pudding

I'm not normally one for anything with dates, but this dessert was great. Delicious and moist with a warm pouring sauce.

 Blackforest tiramisu

  So good, and my friend's dessert highlight for the evening. Yum :)

After dessert I asked owner and dessert creator Eelin a couple of questions...

Tell me a little about the concept behind Eggless
My parents were lacto-vegetarians (now vegan) and we've had a lot of trouble looking for desserts they could eat whenever we go out. So we then make our own food and desserts and have been doing that for many many years. I am also very passionate about desserts and understand  how difficult for people with dietary restrictions to find decent desserts so we thought that it would be nice to be able to provide a place for people to have nice desserts.

You have a wide range of desserts on your menu. What's your personal favourite?
 That's a really hard question...I do love lots of desserts but so far the Chocolate Peanut Butter Pie is my favourite...can't really go wrong with the chocolate and peanut butter combination...it's also decadently rich but so lip smacking delicious!! It appeared a couple of times on our menu and it's also very popular with our customers.

So what's the secret? How do you create egg-free desserts without compromising on flavour or quality?
Lots of trial and error really...it's about knowing the ingredients and what they can do. I spend my spare time reading food magazines and recipe books for ideas and tips. I also try to use natural and fresh ingredients in my food to give the best flavours.

Do you have any tips for people wanting to create eggless desserts at home?
The internet is a fantastic source of heaps and heaps of egg free dessert recipes and has lots of good tips too. 


Eggless Dessert Café
162 Goodwood Rd
Goodwood, SA
(02) 8272 0777
http://www.eggless.com.au/


Saturday, 5 June 2010

Pavlova with cream & macerated berries


Until very recently, I was adamant I would *hate* pavlova for the rest of my life. I resigned to the fact that I'd be ridiculed by my fellow Australians and would probably be told how
"unaustralian" I am :P  I just couldn't stand the excessive sweetness and the claggy insides of purchased pavlovas whether they be from supermarkets or restaurants.

But what was I thinking?! That was before I experienced homemade pavlova. I was inspired to try making my own after watching the Donnay Hay challenge early on in Masterchef this season.
The great ballerina - Anna Pavlova.
Beautiful and delicate, just like the dessert named after her.

Ingredients
150 ml eggwhite (approximately 4 eggs)
1 c caster sugar, plus extra for the berries
2 tbsp cornflour (sifted)
2 tsp white vinegar
1 cup pure cream
200- 250 g mixed frozen berries (I used Creative Gourmet)
1 tsp icing sugar

Method
1. Preheat the oven to 150 degrees celcuis and prepare a baking tray lined with baking paper. Place an 18cm round baking tin on the dull side of the baking paper and draw a circle around it. Then flip it over with the shiny side up, and sprinkle a very fine amount of extra cornflour over the paper.
2. Place the eggwhites in a bowl and whisk to stiff peaks using an electric mixer.
3. Gradually add the sugar, whisking well, until the mixture is stiff and glossy.


4. Add the cornflour and vinegar and whisk until just combined.
5. Turn the mixture out onto the prepared tray and shape into a round using the marked circle as a guide.
6. Reduce the oven to 120 degree celcius and bake the pavlova for 1 hour 20 minutes.


7. Switch the oven off and allow the pavlova to cool completely.


8. Whisk the cream with a teaspoon of icing sugar until soft peaks form.
9. To prepare the berry mixture, combined the frozen berries and 2 teaspoons caster sugar in a small saucepan over very low heat and allow to soften slightly. This only takes a few minutes and ensures the sugar dissolves, and that the berries are not too tart on the palate. This process should not cook the berries, in fact, they should still be cold. Berries vary in tartness, so do taste and add a little more sugar if desired.
10. Sliding a large knife under the pavlova to ensure it is separated from the baking sheet, carefully transfer to your serving plate. Dress the cooled pavolva with cream and berries. Serve immediately and enjoy!

Messy goodness

Tips
- Make sure your eggs are at room temperature before you start.
- Add the sugar gradually by sprinkling teaspoonfuls of the sugar into the meringue. This should take about 10 minutes, so be patient...

The scene of the crime

The thing I enjoy about making pavlova is that it is a labour of love. You need to take care and patience to ensure you achieve the crisp shell and marshmallow-like interior, but it doesn't have to look perfect. As you can see, mine became rather messy... but I can guarantee you, there were no complaints! It was delicious :)


So tell me, readers, was there ever a dish that you disliked until you made it yourself?


Ladybird x
Related Posts with Thumbnails